Timing Hacks
Episode #8 of the course The best photography hacks by Tom Ang
Hello again!
Thanks for keeping up with this course. It’s great that you’ve been reading these lessons, because today, we’re covering ground that can truly vitalize your photography!
Today, I want to share a few timing hacks: how to capture the moment perfectly.
When You Need Timing
If you’re into sports, really good timing is essential. Genres like street photography and portraiture call for good timing too. If you find you keep missing the moment—the ball in the net, the hilarious expression, the blowing out of the candles—the little practice trick I’m about to share here will be a big help!
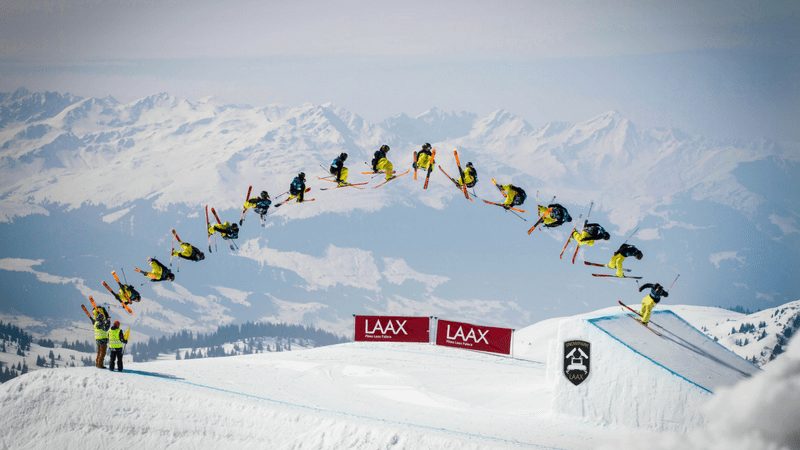
Shutter Lag
Photographers talk a lot about capturing the perfect, or decisive, moment. It’s when everything—meaning, emotion, composition, gesture—come together. The trick is to capture precisely the right moment.
Once you’ve pressed the shutter button, it takes time for a camera to make the calculations it needs before it can capture a shot. Like computers, some cameras think faster than others.
How to Reduce Shutter Lag
Here are a few tips for reducing shutter lag so the image is captured as soon as possible after you press the button:
• Turn off any automatic functions you’re not using, e.g. auto-exposure, auto-focus, etc. Even turning off functions like Wi-Fi or Bluetooth can help.
• Keep your camera on. It will wake up from its sleep mode more quickly than if you turn on the power from off.
• Set a large lens aperture, e.g. f/2.
• Half-press the shutter button to obtain focus, and hold it until you’re ready to make the shot, then press all the way. Avoid lifting your finger off, as the camera may re-set and take more time to shoot.
• Try to anticipate the moment, and be ready for it when it happens.
And one other tip: avoid jabbing hard at the button. This only shakes the camera and doesn’t make things happen any faster.
Training Your Timing
Here’s a little exercise you can do to sharpen your photographic timing skills. The first time you do it, the results can be a bit embarrassing, but keep practicing. It’s worth it and easy to do:
• Stand somewhere safe where you can watch traffic passing in front of you.
• Select a marker, such as a tree or lamp post.
• What you do is make shots of people passing the marker so they are exactly in the middle—e.g. having the lamp post sticking out of their head.
• Start with people walking, or if that’s too easy, snap cyclists or even cars passing.
• After a few shots, review your results (yes, you may chimp this one time!). If people are too far forward, you need to press the shutter a little ahead of time.
With top-grade equipment, it’s easy to hit your target every time. With small point-and-shoot cameras, you may need to anticipate the action by quite a few seconds to capture it. Each camera is different, as indeed is each photographer, so practice a little when you have a moment—waiting for a bus, waiting for a plane—and your skill will steadily improve.
Sources of Inspiration
Remember from Lesson 2: to get the most from these fine photos, try to work out how the shot was made.
Here are a few resources you may like:
• “100 Greatest Sports Photos of All Time“: fabulous shots from sporting history
• “Perfectly Timed Animal Photos“: stunning and amusing shots of animals
• “The Most Influential Images of All Time“: many of these great images depended on perfect timing from the photographer
That was easy, wasn’t it?
Tomorrow, we step a little out of our comfort zone. It’s a fine way to boost creativity.
Enjoy!
Best,
Tom
Recommended book
National Geographic Rarely Seen: Photographs of the Extraordinary by National Geographic
Share with friends