Seeing Before Arriving
Episode #8 of the course Easy exercises to upgrade your photography by Tom Ang
Hi!
I’m often asked what single quality is needed to be a great travel photographer. My usual reply is: “the ability to see the future.” It’s a cheeky answer, but there are wads of truth in it.
Think about any martial arts or competitive sports like tennis or squash. If you have no idea what move your opponent will make next, you’ll always be lagging behind. In fact, you’re sure to lose. But if you know your opponent’s moves a split-second in advance, then you have time to respond correctly, a higher chance of taking the advantage.
Let’s try applying this to photography. Let’s learn to see what a scene looks like before you get there.
Frame in Advance
This exercise helps you plan your movement through a location so you move swiftly and accurately into the position that gives you the viewpoint you want, without having to shuffle and shift about more than necessary. This also helps you envisage what potential a scene has without having to pace all over it.
Think of what good drivers do when on the road. They don’t look at what is just in front of them, but some way into the distance. They note other cars, their direction, and speed. They note obstacles in the road ahead. And all the time, they are adjusting their speed and position on the road to take advantage of developments or prepare for any problems.
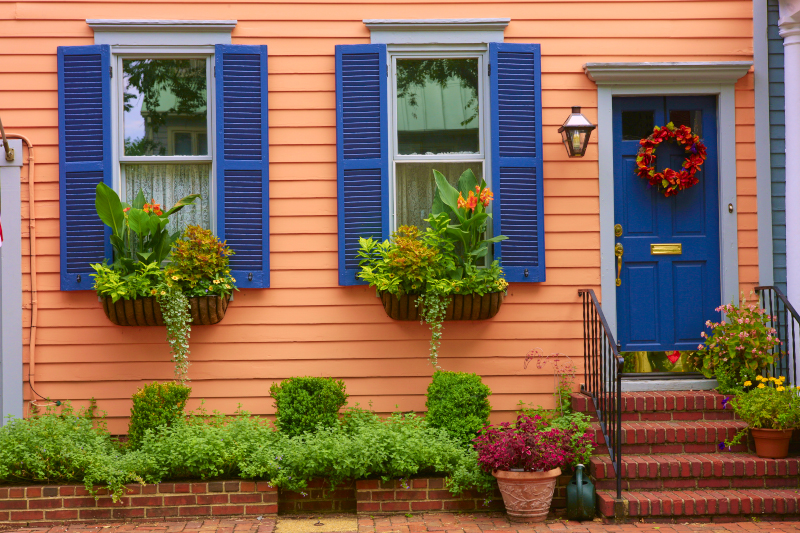
Start by locating a building—indoors or out (but don’t upset anyone by photographing them through their window):
• Standing to one side, work out where to stand so you’ll be directly opposite to it, square on, shooting it so that the top and bottom edges are straight on to you.
• Once you arrive at the position, immediately take the shot.
• Refine position if necessary and shoot again. Compare the first and second shots to see how far out you were.
• Repeat with different buildings, working at different distances. Use windows, as they offer clear shapes.
Read Ahead
Once you get the idea, it will be easier to move to the next stage. Take yourself to a favorite spot where you can practice. A nature park or garden is ideal. Normally, you might wander around and photograph a view that shows promise. We will try to make this more cleverly directed:
• Imagine what a scene will look like from a certain position, looking in a certain direction. For example, in the park, you may see a path ahead of you. What will the scene look like when you stand in the middle of the path, looking down an avenue of trees?
• Walk to the position you choose and take a photograph. Did it look as you envisaged? If not, what was different and why?
• Repeat as often as you like. You can see that the more you do this, the better you get. Ideally, you will start to walk straight to positions that are likely to yield images rather than just wander around.
• Of course, there are always surprises around the corner. You’ll keep your eyes out for those. This exercise is about getting results the smart way.
By the way, you already use this technique, if only in a basic form. When you climb a tower or drive to a panoramic viewpoint, you have some idea of what you will see. This exercise helps you refine skills in pre-visualization and greatly improves the efficiency of your photo hunting.
Before long, you’ll be predicting the future!
See you tomorrow for another unusual but valuable training tip: how to see with the eye of the camera.
See you!
Recommended book
Mastering Composition: The Definitive Guide for Photographers by Richard Garvey-Williams
Share with friends