Links and Images
Episode #4 of the course HTML and CSS Basics by Kim LaRocca Henry
In previous lessons, we created our first webpage. Now let’s add some links and images to the body of our page!
 View, copy, and play with this code on CodePen at http://codepen.io/kimlarocca/pen/pgYrGL
Hyperlinks
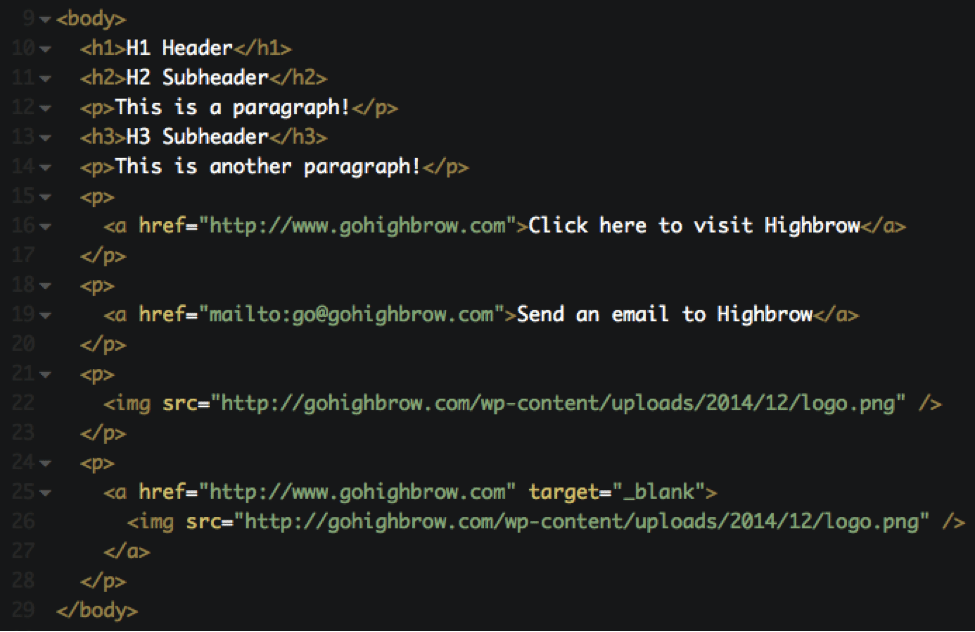
The <a> tag allows you to display a link to another webpage. The <a> tag on line 16 is nested inside a <p> tag, and it has an attribute. To refresh your memory, HTML elements can have attributes, which provide more information about the element. Here we have an href attribute whose value is the web address you want to link to. In this case, href=”http://www.gohighbrow.com” tells the web browser to take the user to http://www.gohighbrow.com when they click on the link. The text inside the <a> tag “Click here to visit Highbrow” is what will be displayed as a link in your web browser.
Check out line 19. Instead of a web address in the href attribute, you can also use “mailto:YourAddress@gmail.com”. This code will display a link that automatically opens up a new email addressed to whatever email you specify. In this case, it will open up a new email addressed to go@gohighbrow.com.
Images
To display an image on your webpage, use the <img> tag. On line 22, the <img> tag is nested inside a <p> tag and has a src attribute. The value of the src attribute tells the web browser where the image file is located. In this case, we want to display the Highbrow logo, which is located at https://gohighbrow.com/wp-content/uploads/2014/12/logo.png. Note that unlike other HTML elements, the <img> tag has no end tag—it simply ends with /> after all the attributes are defined.
Combining Images and Links
You can display an image that is also a link so that when a user clicks on the image, it will send them to another webpage. The code for this is found on lines 24-28 on our webpage. You’ll see that the <a> tag is nested inside of a <p> tag as before, but now on line 26 we have an <img> tag nested inside of the <a> tag. This code creates an image link instead of a text link. Another thing you’ll notice is that we have an additional attribute in our <a> tag on line 25: target=”_blank”. The target attribute defines the target of the link. By default, the link will open in the current window. By adding target=”_blank” to your <a> tag, you can direct the web browser to open the link in a new window instead.
Our webpage so far…
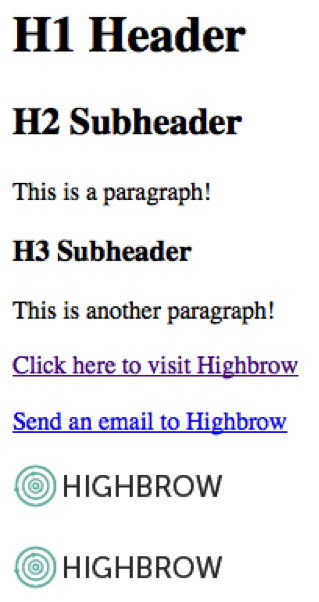
Here is a preview what our webpage should look like!
 View, copy, and play with this code on CodePen
at http://codepen.io/kimlarocca/pen/pgYrGL
Recommended book
“Don’t Make Me Think, Revisited: A Common Sense Approach to Web Usability” by Steve Krug
Share with friends

