Creating a Basic HTML5 Layout: Part 2
Episode #8 of the course HTML and CSS Basics by Kim LaRocca Henry
Let’s add some CSS styles to the layout that we created in the previous lesson!
Here’s a breakdown of our CSS code with some further explanations:
 View, copy, and play with this code on CodePen
at http://codepen.io/kimlarocca/pen/adrKNQ
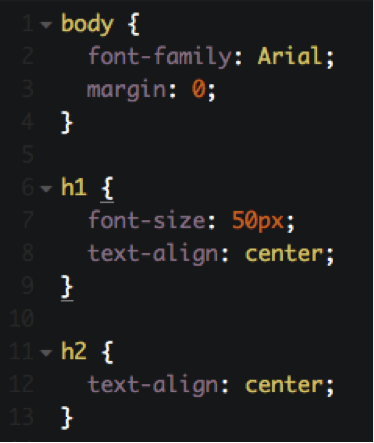
Lines 1-4: Here we are styling the body of our webpage with the font Arial and a margin of zero. An HTML document has a default margin surrounding the body, and it is common to “reset” this by including margin: 0 in your CSS code for the body element.
Lines 6-13: Here we are styling our H1 and H2 headers by changing the font size for the H1 and center-aligning both elements.
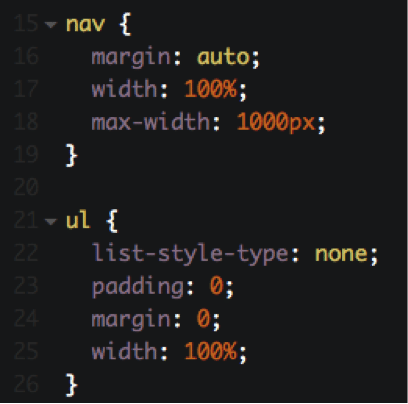
Lines 16-18: width:100% and max-width:1000px makes the nav element 100% width, but limits that width to a maximum of 1000 pixels. We did this so that the navigation bar does not extend beyond our hero image, which is 1000 pixels wide. margin: auto horizontally centers the 1000px wide nav element on the page.
Lines 22-24: list-style-type: none resets the default list style for unordered lists. You may recall from the previous lesson that our unordered list had bullets next to each item. This line of code removes those bullets. Similarly, padding:0 and margin:0 reset the style for unordered lists to remove the margin and padding surrounding them by default.
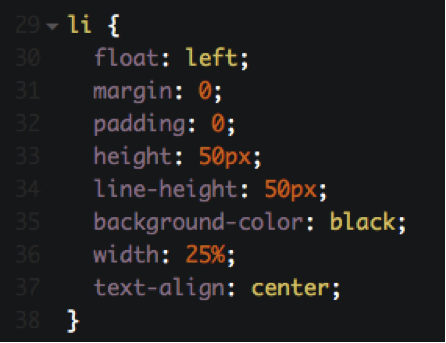
Line 30: float: left puts every list item adjacent to each other as opposed to having each item on a separate line.
Lines 33-34: height: 50px and line-height: 50px are useful tricks you can use to vertically center a line of text when you know the height of its container—just set the line-height equal to the height!
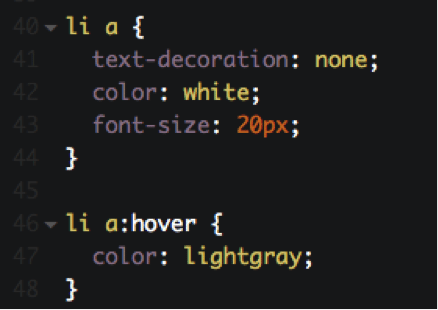
Lines 46-48: Our first example of a CSS pseudo class. Pseudo classes are used to define styles for a specific state of an element. In this case, when your mouse hovers over a link inside our navigation’s unordered list, the color of the text will change from white (as defined on line 42) to light gray (as defined on line 47). To do this, we need to change the code from “li a {“ (as on line 40) to “li a:hover {“ (as on line 46).
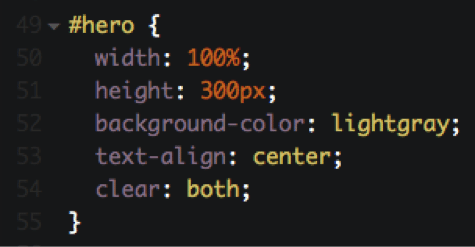
Line 49: In order to target the hero image section, we can use the ID attribute we defined in the previous lesson. To target an ID via CSS, you use the # symbol before the ID name. In this case, #hero will target our hero image section.
Line 54: clear: both tells the web browser that the hero image section cannot be adjacent to any other element, and therefore it will be pushed below surrounding elements.
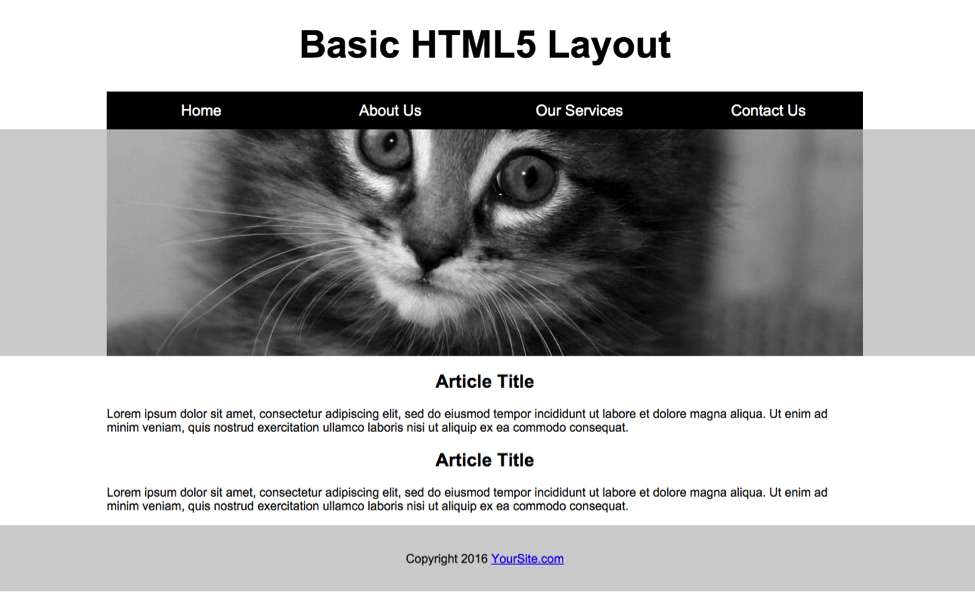
Our webpage so far…
Here is a preview of what our webpage should look like!
 View, copy, and play with this code on CodePen at http://codepen.io/kimlarocca/pen/adrKNQ
Recommended book
“CSS Mastery: Advanced Web Standards Solutions” by Simon Collison
Share with friends