Blow Out Your Pictures
Episode #5 of the course Easy exercises to upgrade your photography by Tom Ang
Hello!
Photographic exposure is a big, deep topic that many photographers have trouble with, so I thought we could spend more time on it.
What is your biggest problem with exposure? If you’ve been to workshops, you’ll have been given all kinds of technical tips. But it’s hard to get a firm answer to the question, “What is the right exposure?”
Yesterday, I hinted at the answer. It’s not the camera that decides on the right exposure, it’s you. The right exposure is that which gives the results you want.
Today, let’s explore images that are very generously exposed. This means that the key tones normally in the middle of the range—i.e., grey—are lighter, or higher than normal.
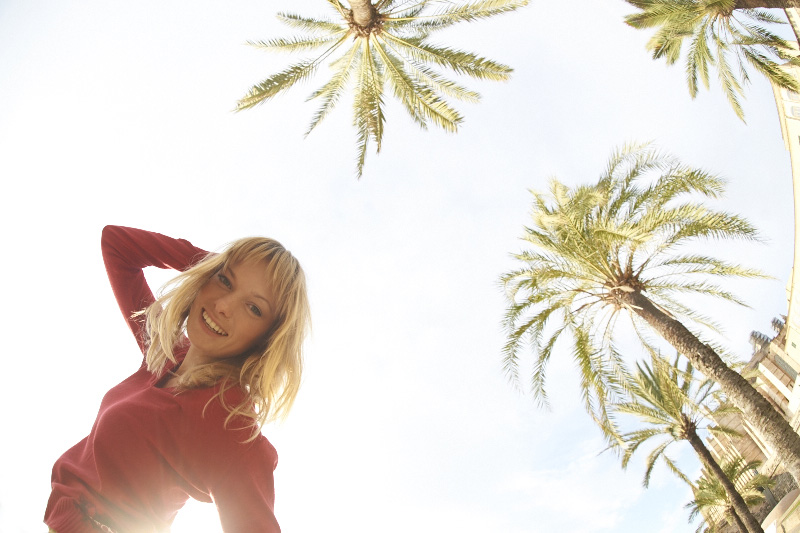
High Key
Technically, high key images have little or no shadow areas, so the darkest tones are midtones or brighter, and mid-tone is brighter than normal, i.e., high. Much of the image consists of highlight or whites.
This look produces light, airy effects with still-lifes, landscapes, and nature shots. The weightless look is also a favorite in wedding and portrait photography.
This is how to get it:
• Set your camera to any auto-exposure mode (shutter, aperture priority, or program—it doesn’t matter).
• Set the exposure override to +2 stops.
• Now shoot freely.
• While shooting, try to think of what would benefit from generous exposure—that is, what kind of images would benefit. After the first try, you may just get a load of unpromising images. Look at them carefully, learn from them. Which ones worked best? Colorful ones, high-contrast ones, or ones with clear boundaries? You are likely to find that it’s hard to control results on brilliantly bright days, while it’s much easier to control results on dull days.
• Repeat the exercise, and refine results after you’ve examined your takes carefully. Make yourself look for images that work with the extra exposure—that is, the images that look like they are meant to be full of light, bright and brilliant.
• Avoid chimping (checking image preview) while shooting, as this is not reliable. Review on a computer monitor.
• Repeat using different override settings: Small increases make little difference, but very large ones (more than 3 stops) are tricky to use. Good results are easiest to get, using overrides of 1.5 to 2 stops.
• To make the images truly high key, you could give them some post processing:
– Use the Brightness control (not the Exposure control) to make the image brighter.
– Use Shadow control to make the shadows appear lighter. For extra lightness in the shadows, you can apply the Dodge tool.
– Use the Saturation slider to increase saturation; this makes pale colors look lighter.
Try it!! You could surprise yourself.
For example, I started my series, Color of White, when I accidentally overexposed a whole set of images. I was about to kick myself when I realized some were rather beautiful.
Tomorrow, we’ll explore the opposite: making dark images.
See you then!
Source of inspiration
High Key on Pinterest: A continually changing collection of images.
Recommended book
National Geographic Rarely Seen: Photographs of the Extraordinary by National Geographic
Share with friends