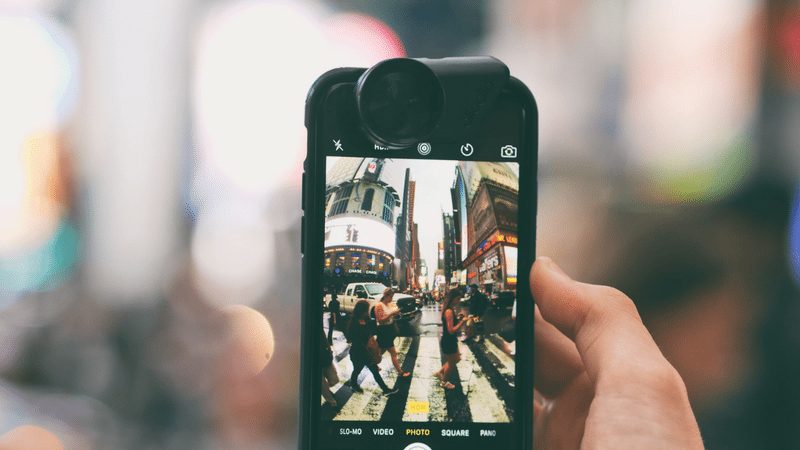
Use Accessory Lenses
Episode #9 of the course Master smartphone photography by Tom Ang
Hello!
Given how small and compact smartphones are, it’s quite a technological miracle to be able to capture photos at all. But that’s not enough, is it? We want more.
Digital Zoom: Pros and Cons
The most common need is to be able to zoom into a scene for a higher magnification view. Remember (from Lesson 3) that smartphone lenses are wide angle: they take in a lot of the scene. But that means objects, like people’s faces, look small. To have the face fill the picture area, you want to zoom in.
• You can zoom into the picture using finger gestures or a control on the screen (consult instructions for your phone’s methods).
This method is quick and easy and doesn’t involve adding any accessories. But image quality can be pretty poor. So:
• Do not use digital zoom if you value image quality or if you really don’t want to use accessory lenses.
Digital zoom gives poor quality because it reuses information from the center of the picture to fill up the frame. If the original image is really sharp, results can be acceptable. If the image starts blurred or is unclear, the zoomed-in results can be horrible.
Solution? Buy accessory lenses for your phone.

Accessory Lenses
You can choose from four main types of accessory lenses.
• Wide-angle: These increase the field of view, so you see more of the scene—useful for scenics, city scenes, and big group shots.
• Telephoto: These increase magnification, so your subject looks bigger—useful for portraits and for travel scenes where you can’t get close.
• Macro: These allow you to get really close to your subject—good for fine details of any kind, such as the pretty hologram on a New Zealand bank note above.
• Fish-eye: These offer very wide field of view, but they allow lines to be strongly bent outward—good if you don’t mind the curvy lines.

Quality issues. Whatever you pay, lenses are a bunch of compromises. They are designed to work with many different phones. They have to be compact, which limits optical performance. My advice:
• Aim for the upper middle of the market: neither the cheapest nor the most expensive. And choose a system with a secure attachment.
Methods of attachment. You can attach accessory lenses using anything from springy clips to slot-on sleeves and high-precision bayonet mounts. As with lenses, the best are in the upper price category. Here’s a quick rundown:
• Spring clips are cheap and easy to use but not very sturdy or accurate. Buy only if on a tight budget, and use only in safe situations.
• Slip-on sleeves are more expensive and locate the accessory lens more accurately over the phone lens. However, they can scratch your phone and become loose over time—a mid-cost solution suitable for all but active users.
• Bayonet mounts work like camera lenses mounting on a proper camera but are much lighter. It needs a mount to be stuck or fixed onto your phone—the sturdiest, safest solution and best for serious and active users.
If you’re making many portraits, a telephoto accessory lens would be a useful first purchase. If you like large landscapes and vistas, you’ll have most fun with a wide-angle attachment.
Whatever you do, have fun! Tomorrow, we’ll look at how you can take your smartphone photography even further!
Best!
Tom
Recommended book
BetterPhoto Basics: The Absolute Beginner’s Guide to Taking Photos Like a Pro by Jim Miotke
Share with friends

