
The handoff
Episode #8 of the course Design workflow with Sketch by InVision
Whether it’s the project cycle speed, skillsets changing, or tools maturing, the handoff line is starting to blur. Some designers code, and some developers have a pretty good sense of style.
Sketch has a number of ways to ease the handoff pressure down to a smooth hum.
Package and document
Finishing your design and getting approval isn’t your chance to check out. There’s a ton to be done to get your .sketch file production-ready.
Clean your dang file, hippie
Before you throw your developer into the madness that is your .sketch file, take a moment to tidy things up. Just like the PSDs of old, things can get a bit… hairy when you’ve been designing fast and furious over a long period of time. Here’s my quick organizational hit-list:
• Organize everything into groups, with logical names.
• Use symbols and shared styles when you can.
• Label your artboards correctly.
Exporting assets
Sketch makes it easy to get all that wonderful design out of Sketch. Enter the Export feature, a way to quickly and logically slice your document for asset creation.
Once everything is marked for export, creating an entire project’s worth of assets (icons, photos, graphics) only takes a single click. If the developer has Sketch installed, they can generate the assets at will. If they don’t, I can easily pass them a folder full of fresh assets.
Exporting files and naming conventions
When you’re marking something for export, you’ve got a couple name, format, and resolution choices. Sketch makes it easy to take a single asset and save it multiple times. You can do @1x and @2x retina resolution, or you could do SVG vector format with a PNG fallback. Check this out:
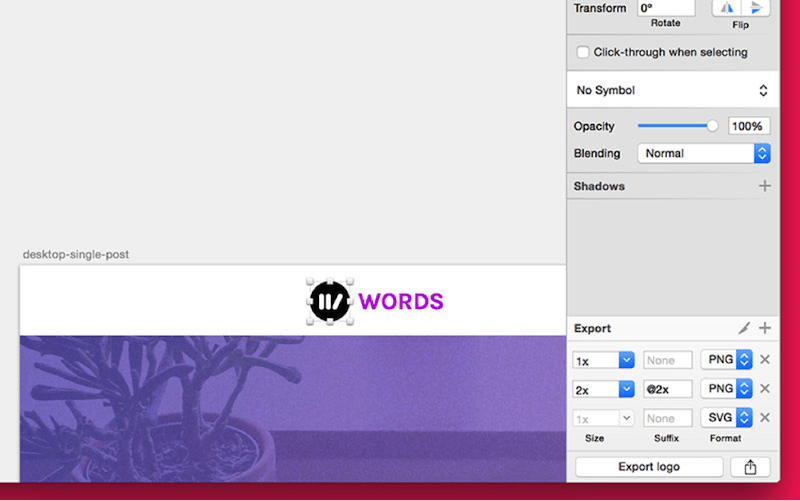
Exporting this layer named logo would produce logo.png, logo@2x.png, and logo.svg all in one shot, and these settings will travel with the file when you share it with your team.
The exact settings you’ll need here are really going to be defined by your project’s needs, but here are some general tips:
• Use SVG when you can.
• Watch out for retina. If you’re saving raster assets, include a @2x version.
• Use a slash to organize into folders.
Let’s grab some icons from our sample file
To explore the export functionality a bit, let’s export the social icons from our header in the sample .sketch file.
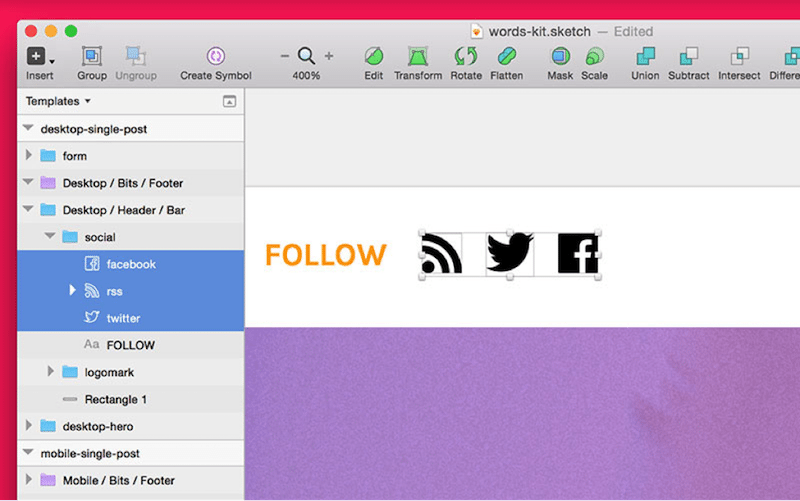
Step 1: Start by selecting the icon shapes you want to export. When elements are several groups deep, it sometimes helps to hold CMD when selecting, which lets you drill through nested groups and select individual elements.
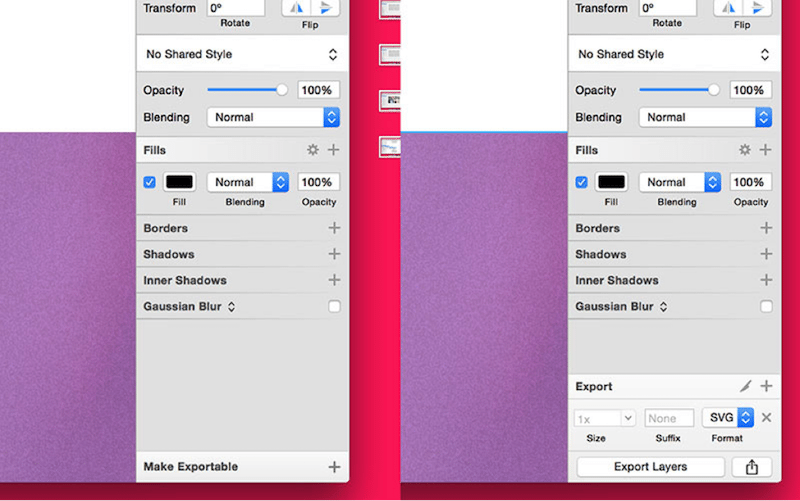
Step 2: Use Make Exportable to mark the selected elements for export. Left: The initial Make Exportable button. Right: File settings of our new exports (these apply to all 3 icons we have selected).
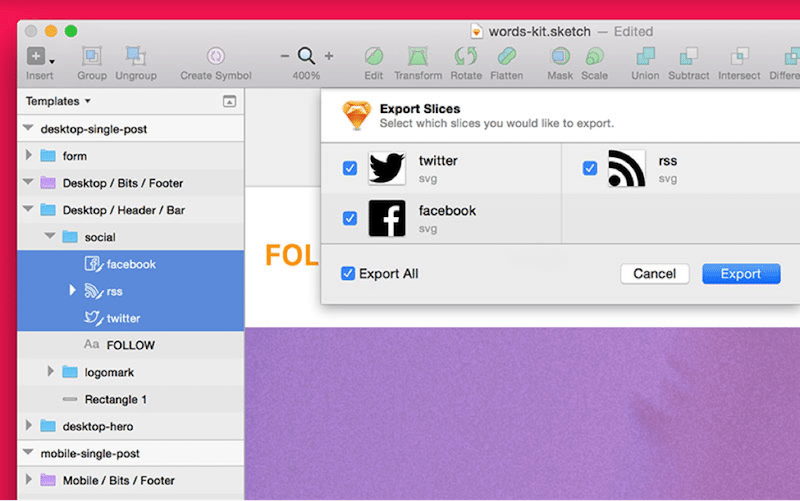
Step 3: Open the Export modal by clicking the Export Button in the toolbar, or by pressing CMD + Shift + E. This dialog will show all the exports throughout your entire file (though ours is relatively clean here). Also of note: the layers list, where you can see our elements have gained a slice icon treatment.
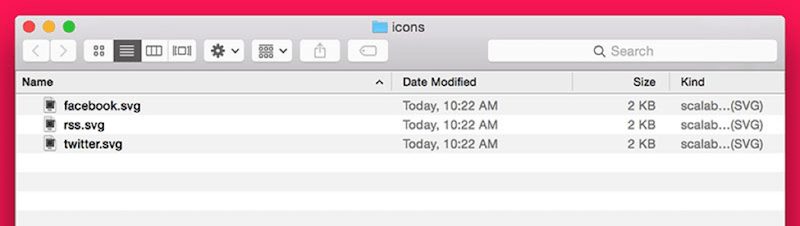
Step 4: The output of the export process, a folder of clean SVG files with names matching those in our layers list. Some other design programs don’t provide an SVG workflow this simple, so if you’re using Sketch, make sure you take full advantage of it.
Share with friends