Photo Fixes
Episode #5 of the course How to edit photos in Lightroom by Robin Whalley
Sometimes, even the best photos need to be fixed. It could be sensor dust spots or distracting objects that need to be removed. In today’s lesson, we’ll examine common tools for fixing problems.
Spot Removal Tool
The icon for this tool is found in a strip of icons just below the Histogram on the right of the interface, or you can press Q on your keyboard.
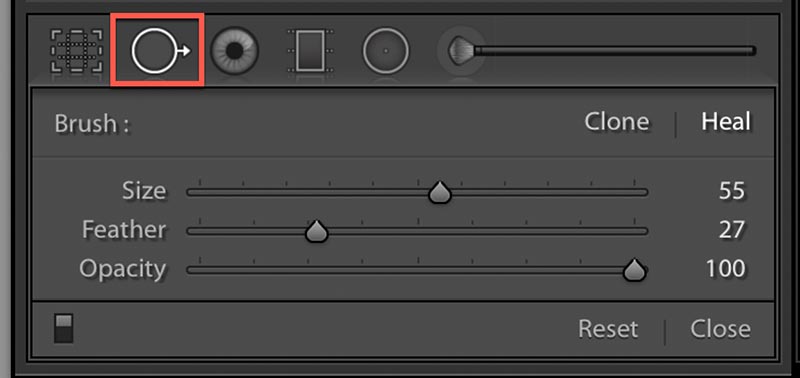
When the Spot Removal tool is selected, the panel above is revealed, showing the Clone and Heal brush tools (top right). Both tools are applied by painting over the area to fix.
The Clone brush copies another area over the area you paint.
The Heal brush does the same but also attempts to blend the change into the photo.
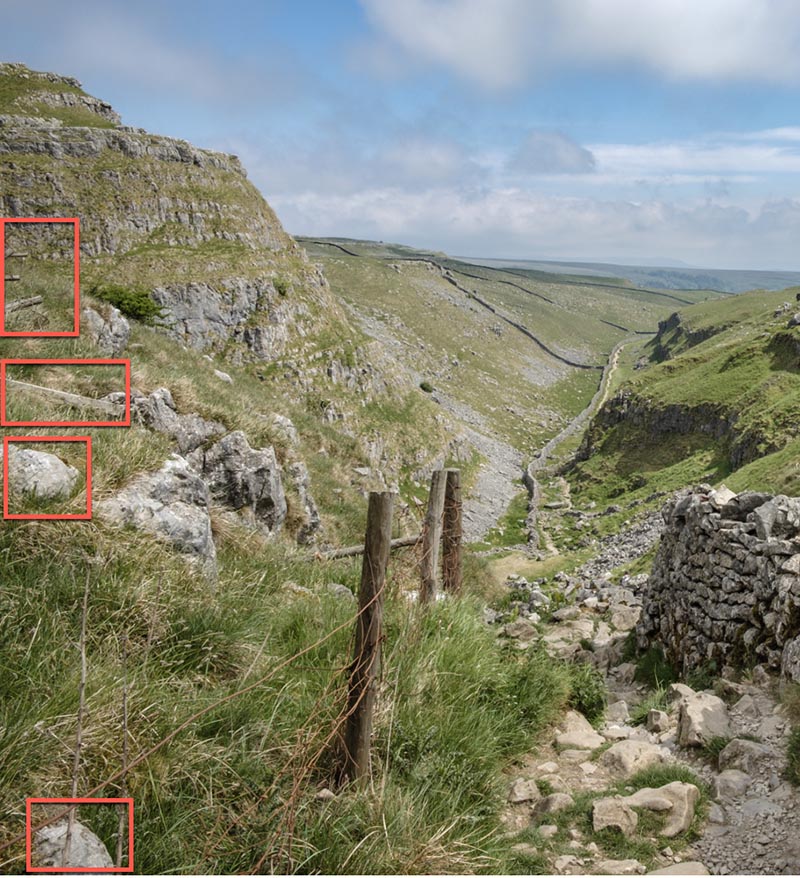
In this example, I want to remove distracting objects from the left side of the frame.
Selecting the Heal brush, I can paint over each area to remove the objects. When you paint over an area and release the mouse button, Lightroom selects another area to replace it.
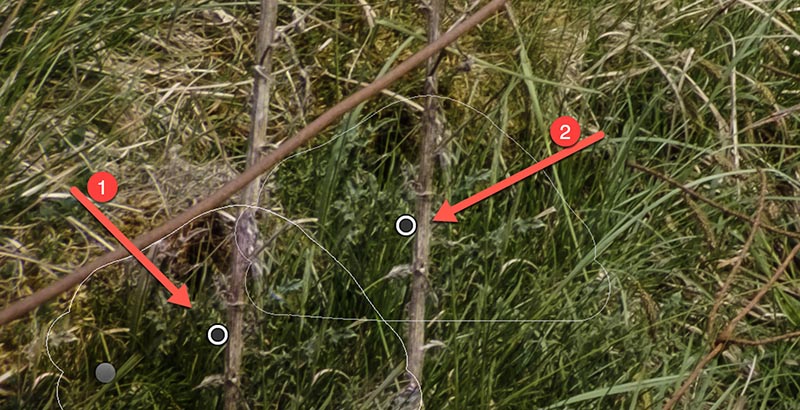
Here, area 1 is being repaired with area 2. Sometimes, Lightroom selects a good repair, but usually, it needs to be changed. You can easily reposition both areas by clicking and dragging with your mouse.
Some repairs are best made using the Clone brush, while others may be better with the Heal brush. You can switch between both types, even after you have made a repair. Right click the center pin of the selection, and select the type of repair from the popup menu.
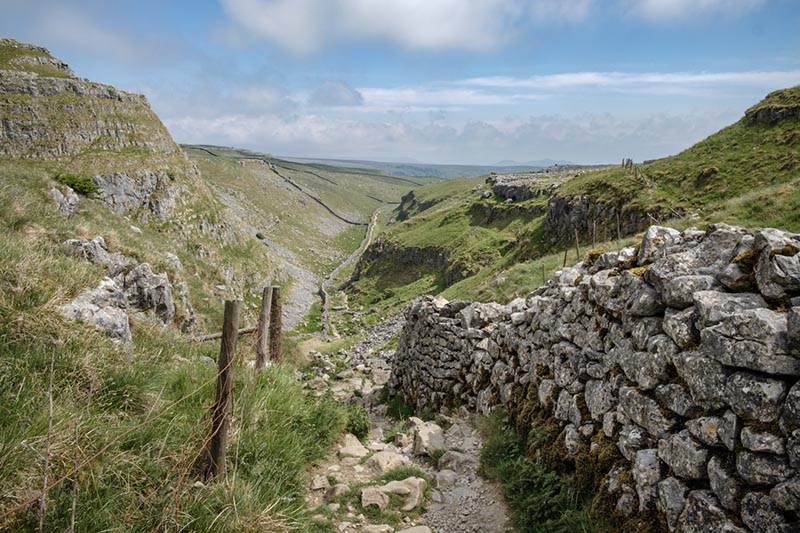
With care and practice, you can make invisible repairs as shown below.
Sharpening and Noise Reduction
Digital cameras will often soften images slightly during capture. Digital photos can also suffer from noise that we need to remove. The tools in the Detail panel can help address these problems.
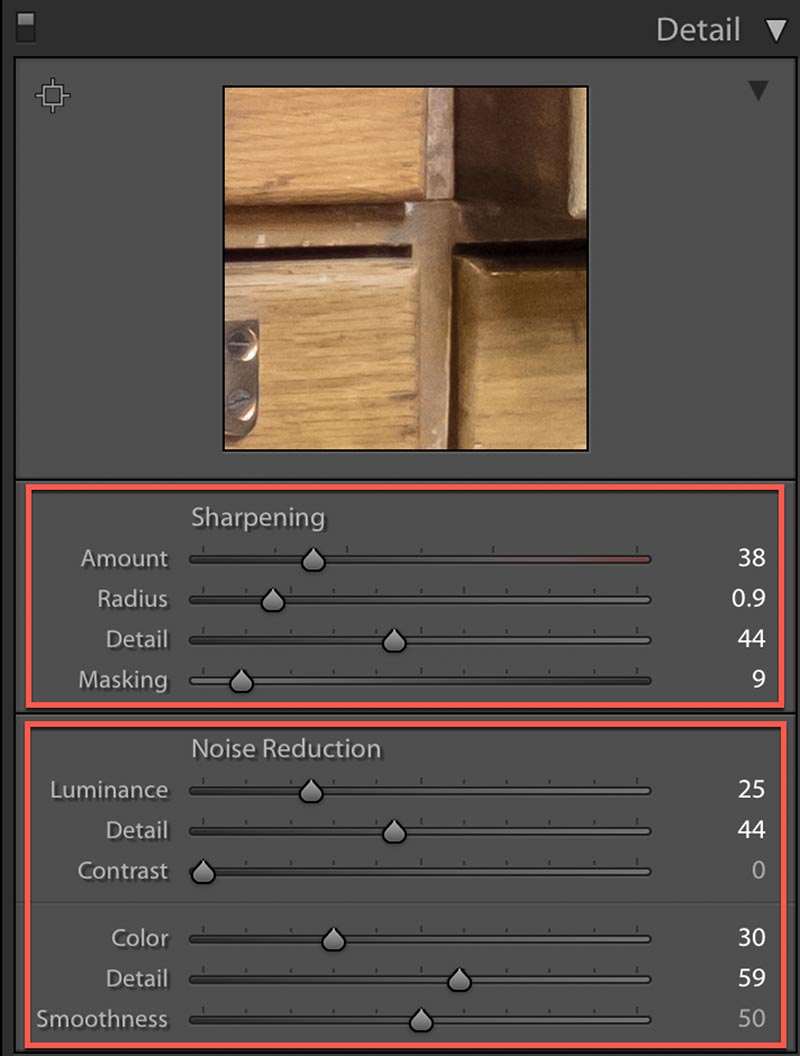
There are two types of noise: Luminance (black speckles) and Color (colored speckles). The Luminance and Color sliders in the Detail panel can remove unwanted noise. If you remove too much noise, your photos may become blurry and loose fine detail. If this is happening to you, increase the Detail sliders, moving them to the right.
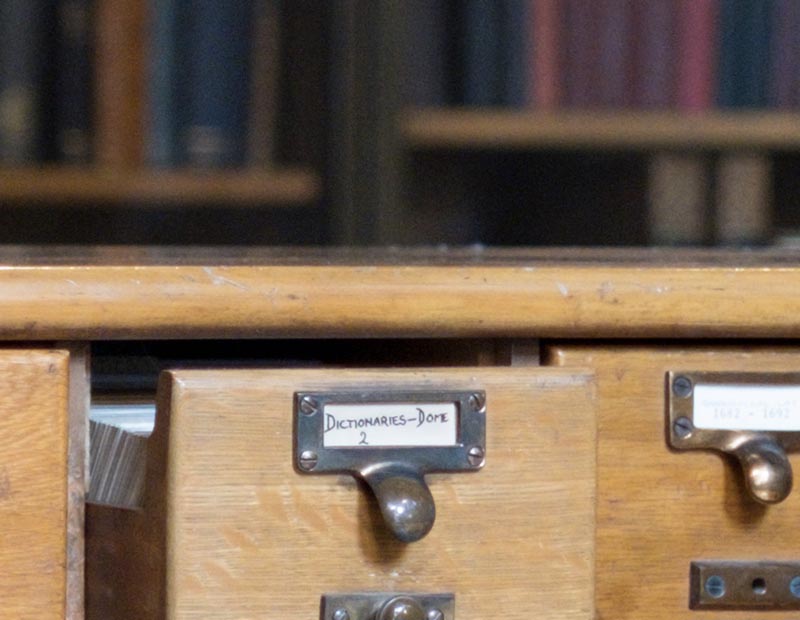
The noise in this magnified area of an image is most noticeable in the top area.
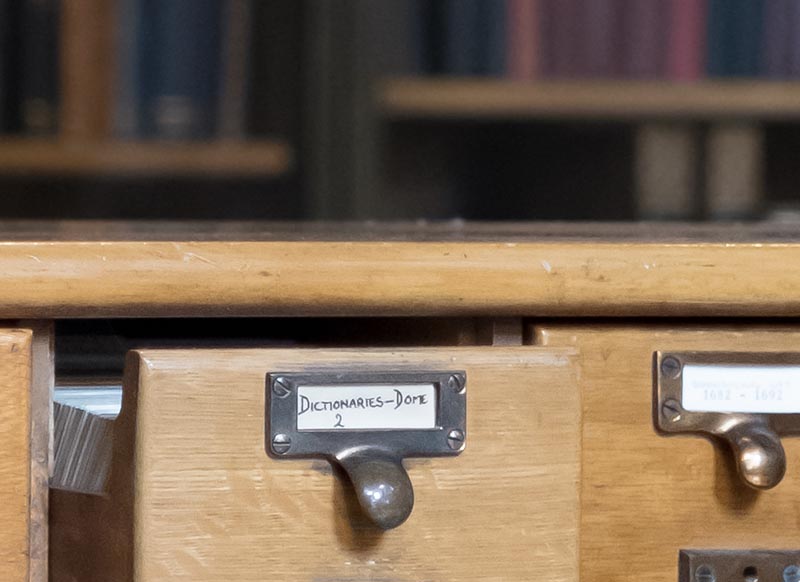
In this next image, the noise has been removed and the image sharpened using the settings shown above. Notice how much clearer the text on the drawer is now.
Move the Amount slider to the right to increase image sharpness.
The appearance of fine detail also can be enhanced using the Detail slider.
For most photos, keep the Radius slider between 0.8 and 1.2. Making the Radius too high causes the sharpening to become visible as ugly bright halos around objects.
If you notice noise being sharpened, increase the Masking slider. Usually, a value of 5 to 15 is enough to prevent this. If you make this value too high, it can prevent the detail in the image from being sharpened.
Today, we have looked at advanced tools you can apply to improve your photos. Tomorrow, we will look at more tools to help you address problems.
Recommended reading
More in-depth information about Image Sharpening with Lightroom.
Share with friends