Learning to Use Your Camera
Episode #1 of the course Introduction to photography by Robin Whalley
Welcome to the course.
My name is Robin, I’m a landscape photographer and author with a passion for software, image editing, and a skill for sharing knowledge. Photography is one of the most rewarding hobbies or careers you can have. Over the next ten days, you will develop a solid foundation that will help you master photography in the future and create wonderful images.
It may sound obvious, but to make photographs of a high quality, you need to understand your camera. We’ll start this course by talking about types of cameras, sensor size, and auto mode.
Types of Camera
There are wide variations in the type of camera you might be using, as well as its features. Some cameras are completely automatic; all you need to do is point and shoot, while others allow more control. We can classify cameras into three broad groups:
• Compact or pocket camera with a fixed lens. These are ideal for carrying around, and the premium models can produce high-quality images, but lesser models often compromise on quality.
• DSLR (Digital Single Lens Reflex). These have interchangeable lenses and can produce high-quality images. They can, however, be bulky, heavy, and complex to use. Although you can spend a lot on such cameras, introductory kits will produce surprisingly good results.
• CSC (Compact System Camera). These have interchangeable lenses and produce good image quality. They are smaller and lighter, but prices are increasing as they gain popularity.
Image Quality and Sensor Size
As you may have noticed, image quality is an important consideration in photography. Lens quality is a major part of this, but the camera sensor is also vital. The most important feature of the sensor in determining image quality is its physical size and the number of pixels. If there are too many pixels packed into a small sensor, image quality suffers. Many premium compact cameras now use a large, one-inch sensor for this reason.
A further factor in sensor image quality is age. In the past few years, manufacturers have become much better at producing high-quality images from small sensors (although a large sensor is still better).
DSLR and CSC cameras have adopted three common sensor sizes:
• Micro 43 – smallest
• APS-C
• Full Frame – largest
These also influence an important feature of the camera lens, which we will examine later in the course.
The Auto Mode
Something else you must do is stop using the Auto settings on your camera, but this will take practice. When you take a photo, the camera analyzes the scene to determine the best settings. The Auto setting is trying to create a photo that’s in focus, steady, and correctly exposed, but this prevents you from being creative. The best photographers make their own creative decisions using the camera’s settings.
In Auto mode, the camera makes decisions about three settings:
• How fast a shutter speed to use. A fast shutter speed will freeze motion that would otherwise appear blurred. A fast shutter speed also reduces the chance of camera shake, which would blur the photo.
• What aperture to use. The aperture is the hole in the center of your camera’s lens, allowing light to reach the camera sensor. When the aperture is wide, more light enters the camera to create the photo. The more light reaching the sensor, the faster the shutter speed we can use. The aperture also controls how much of the scene is in focus, known as the depth of field.
• What ISO setting to use. The ISO setting determines how sensitive the camera is to light. This is a number such as ISO 100 or ISO 200, and some cameras can go to ISO 256,000 or higher. Each time the ISO number doubles, the sensor becomes twice as sensitive to light. So, the more sensitive, the faster the shutter speed you can use. But greater sensitivity causes image quality to suffer.
These three settings—the shutter speed, aperture, and ISO—combine to determine the exposure. When your camera is in Auto mode, it ignores any creative decision you might take.

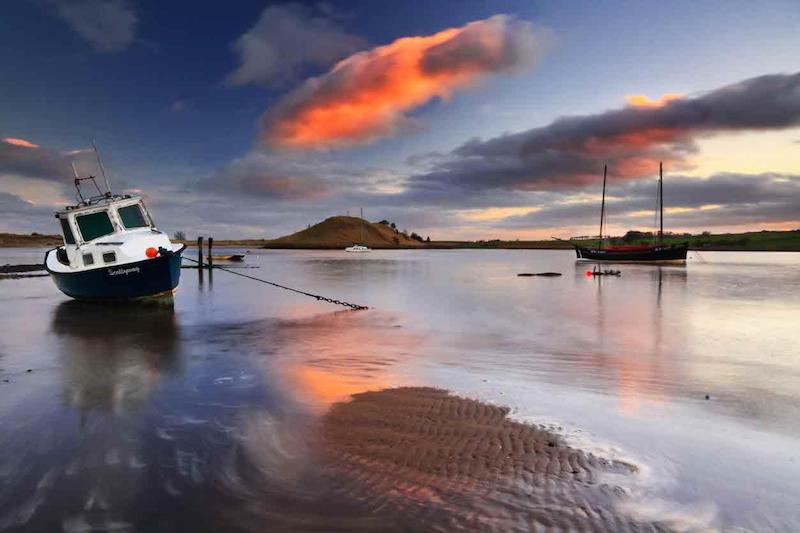
In this photograph, a slow shutter speed has been used to blur the waves. This wouldn’t be possible with the camera set to Auto.
Tomorrow, you will find out about exposure and how to control this.
Recommended reading
Be sure to read your camera’s manual at the start of the course and again at the end. You might not understand everything now, but by the end of the course, you will know what’s important and what can be ignored.
Share with friends
