Learning to Use the Gradient Tools
Episode #8 of the course How to edit photos in Lightroom by Robin Whalley
Yesterday, we looked at creating an irregular-shaped selection with the Adjustment Brush. Today, we will look at two more selection tools, the Graduated Filter and the Radial Filter.
The Graduated Filter
The Graduated Filter is selected in the tools strip, just below the Histogram, or by pressing M on your keyboard.
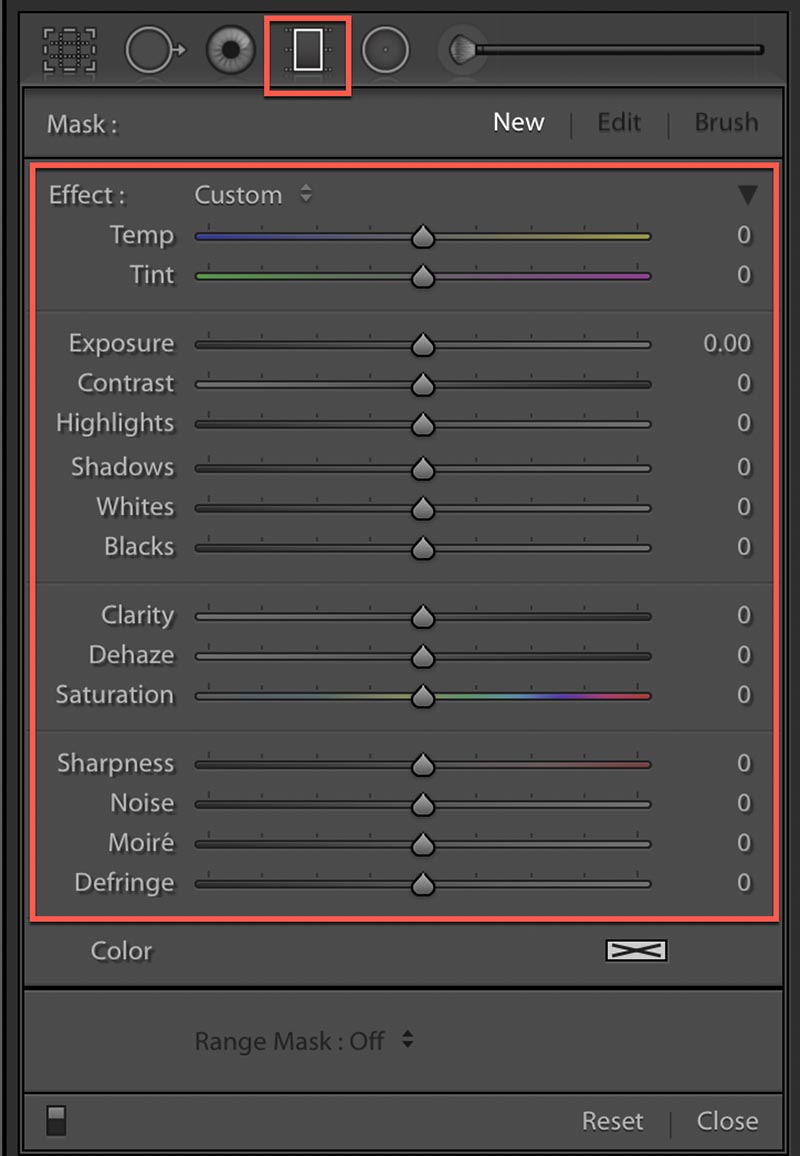
Once selected, the adjustment panel opens. Notice that this has the same adjustment controls as the Adjustment Brush.
The Graduated filter is useful where the area to be selected has a straight edge and extends from the edge of the frame.
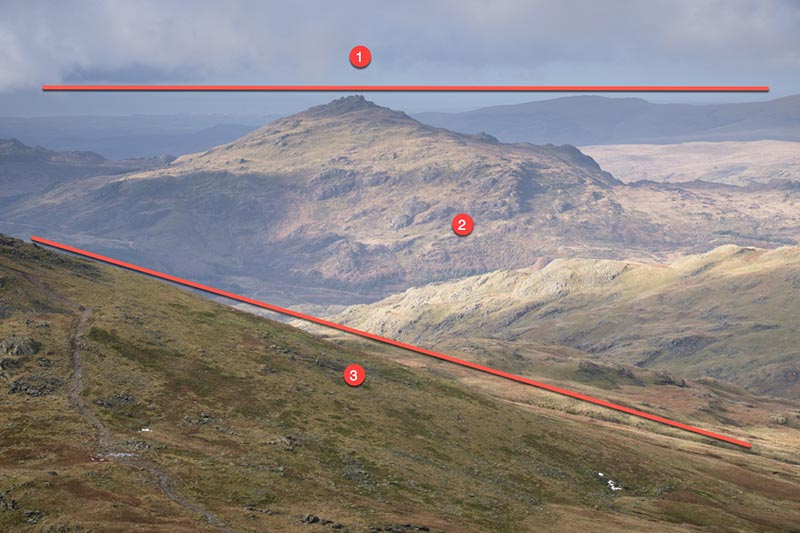
In this example, we can divide the image into three areas to be adjusted separately.
To create a Graduated selection, click a point in the image and drag. As you drag, you will see three lines, with the middle line having a pin at its center. The top and bottom line mark the start and end of a graduated selection area. Above the first line, the selection is at full strength, and below the bottom line, there is no selection.
You can see an example here.
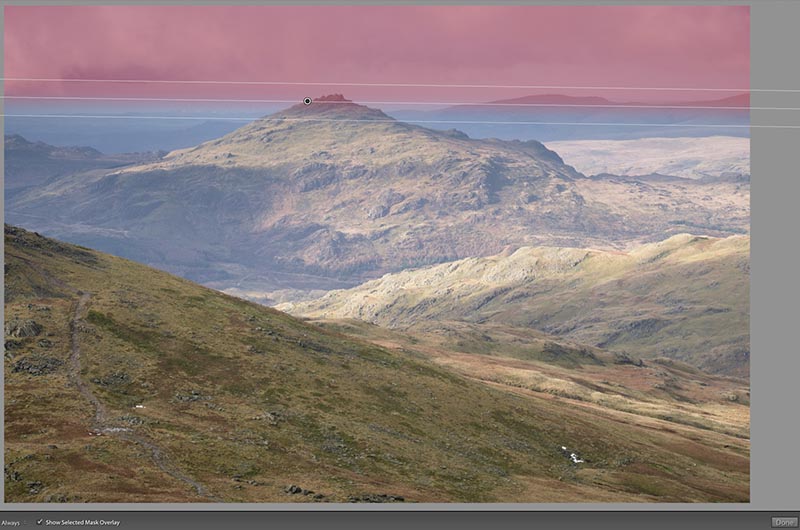
Notice that the red overlay has been used to show the selection and that the area between the filter lines is graduated or feathered.
You can reposition the filter by clicking on the central pin and dragging it.
If you click and drag the top or bottom line, you will resize the graduated region.
If you click and drag the center line (away from the pin), you can rotate the filter around the pin.
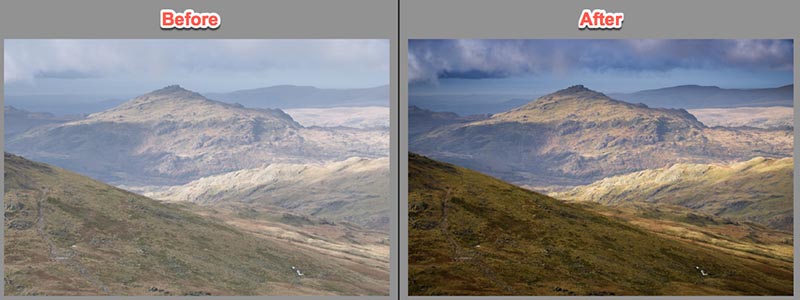
Here’s the image after applying three graduated adjustments to the areas indicated.
The Radial Filter
The Radial filter is similar to the Graduated filter except for its shape. It can be selected from tool strip below the histogram or by pressing Shift + M on your keyboard.
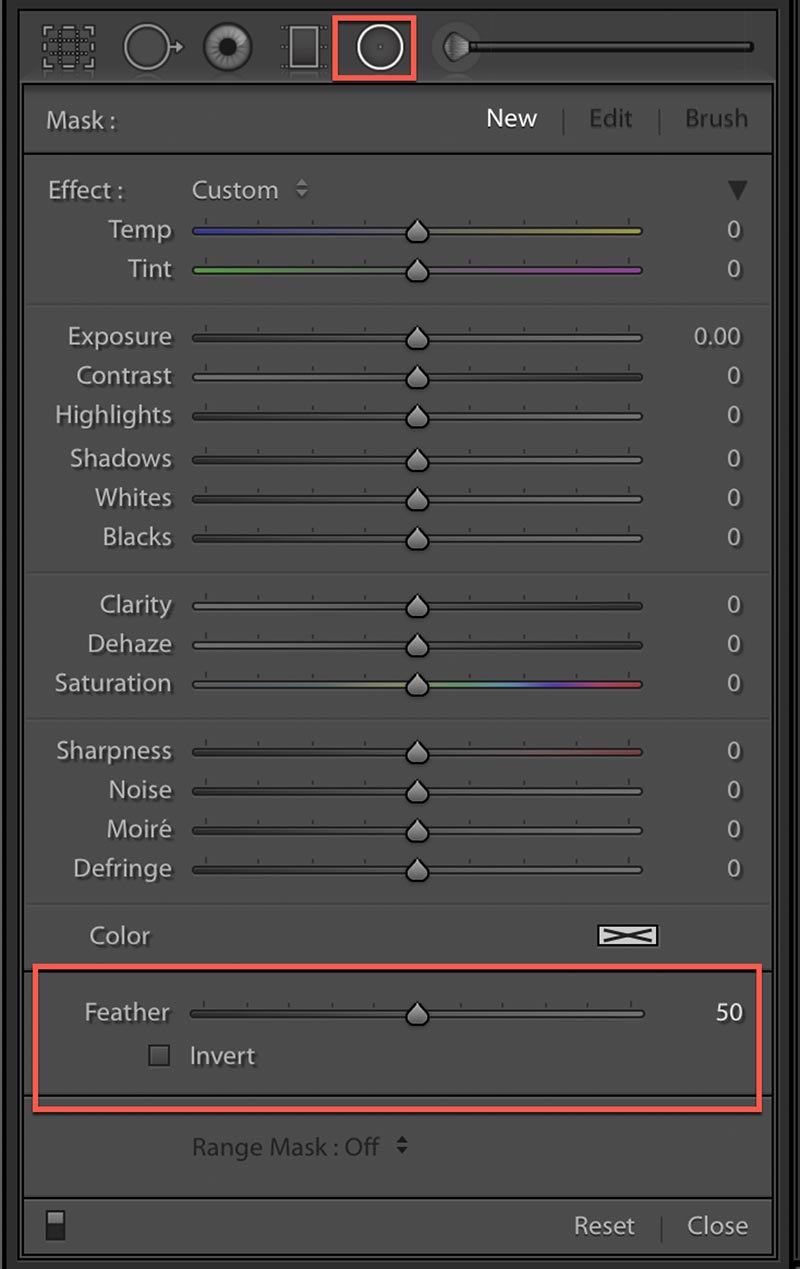
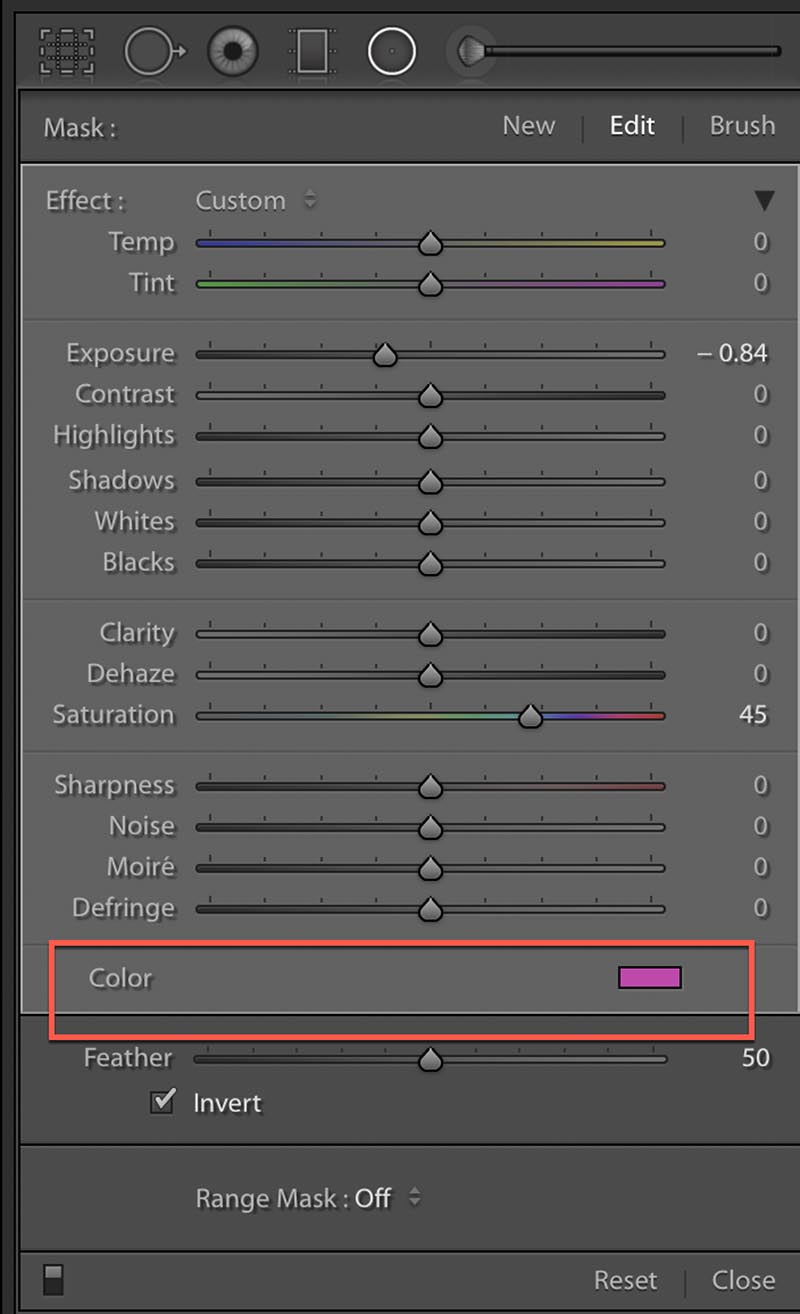
Notice that the adjustment controls are the same as the Graduated Filter. There are, however, a couple of additional controls at the bottom of the panel to help control selections.
Use the Feather slider to soften or harden the edges of the selection. If you are struggling to blend your adjustments into the image, increasing the Feather can help.
The Invert option inverts the selection area. When this is unchecked, the selection is made outside the radial area as shown here.
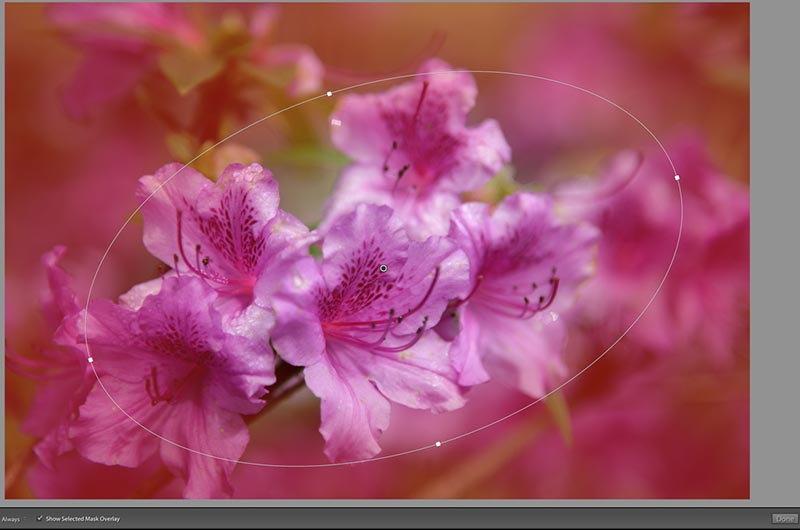
The red mask indicates the area that will be affected by your adjustments and is outside the ellipse (marking the edge of the filter). If you tick the Invert option, the selection would appear inside the ellipse.
Positioning and Resizing
To draw the Radial Filter, click the point to be the center of the selection and drag your mouse out. As you do this, you will see the circle/ellipse is drawn. Release the mouse button to finish drawing the selection.
At the center of the Radial filter is a pin. You can click and drag this to reposition the filter.
The Radial Filter also has grab handles on the left and right, top and bottom. Click and drag these to resize the filter.
Position your mouse just to the outside of one of these handles and you will see the pointer change to a curved arrow. You can now click and drag with the mouse to rotate the filter.
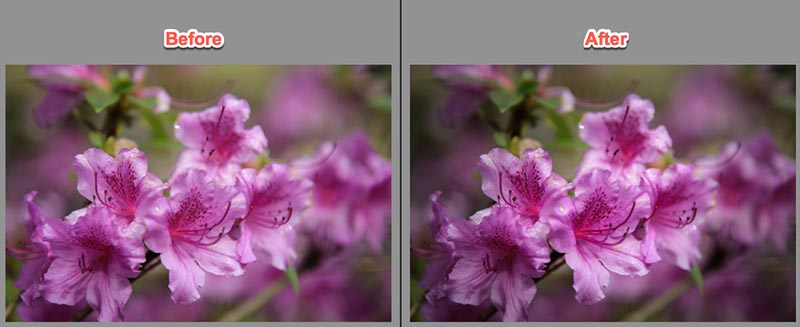
This filter can be used to select and adjust areas. It can also be used to add a vignette effect as shown here.
Be sure to apply any cropping to your image before using this filter. Unlike with the Vignette control we looked at earlier, cropping an image will affect the Radial Filter.
Simulating a Light Leak
You can use the Brush Tool and Radial and Graduated filters to simulate a Light Leak. Light Leaks occur in film photography where light leaks into the camera and exposes/discolors the film. Once they were a problem, but many now consider them artistic.
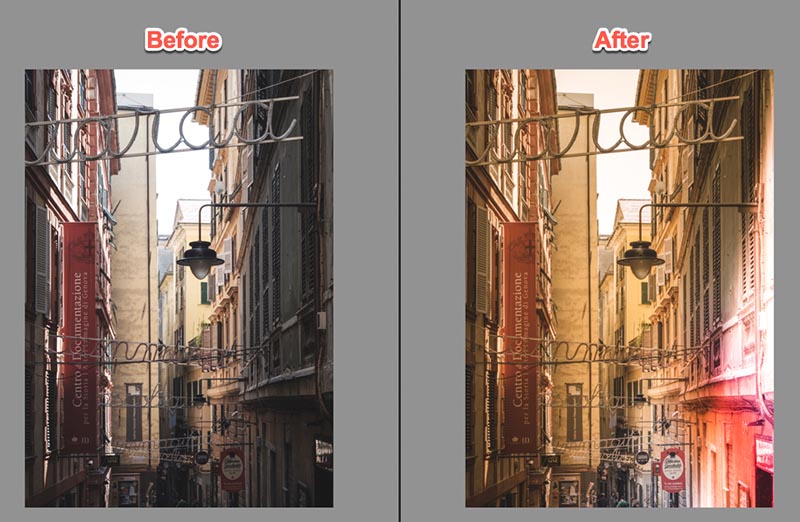
This light leak was created with the Radial and Graduated Filters. Areas were selected, and the Contrast was reduced and Exposure increased. Color was then added using the “Color” overlay option found on the filter panel.
We have now covered the different selection tools you can use to improve your photos and add special effects. Tomorrow, we will look at how to make precise selections.
Recommended book
Share with friends