Learning to Use the Brush Tool
Episode #7 of the course How to edit photos in Lightroom by Robin Whalley
Today, we’re looking at the Brush selection tool. Use this to select an area of your image and apply adjustments just to that area. The Brush Tool is the best selection tool for selecting irregular shapes and areas.
Understanding the Brush Tool
The Adjustment Brush tool is on the right side of the tools, just below the Histogram.
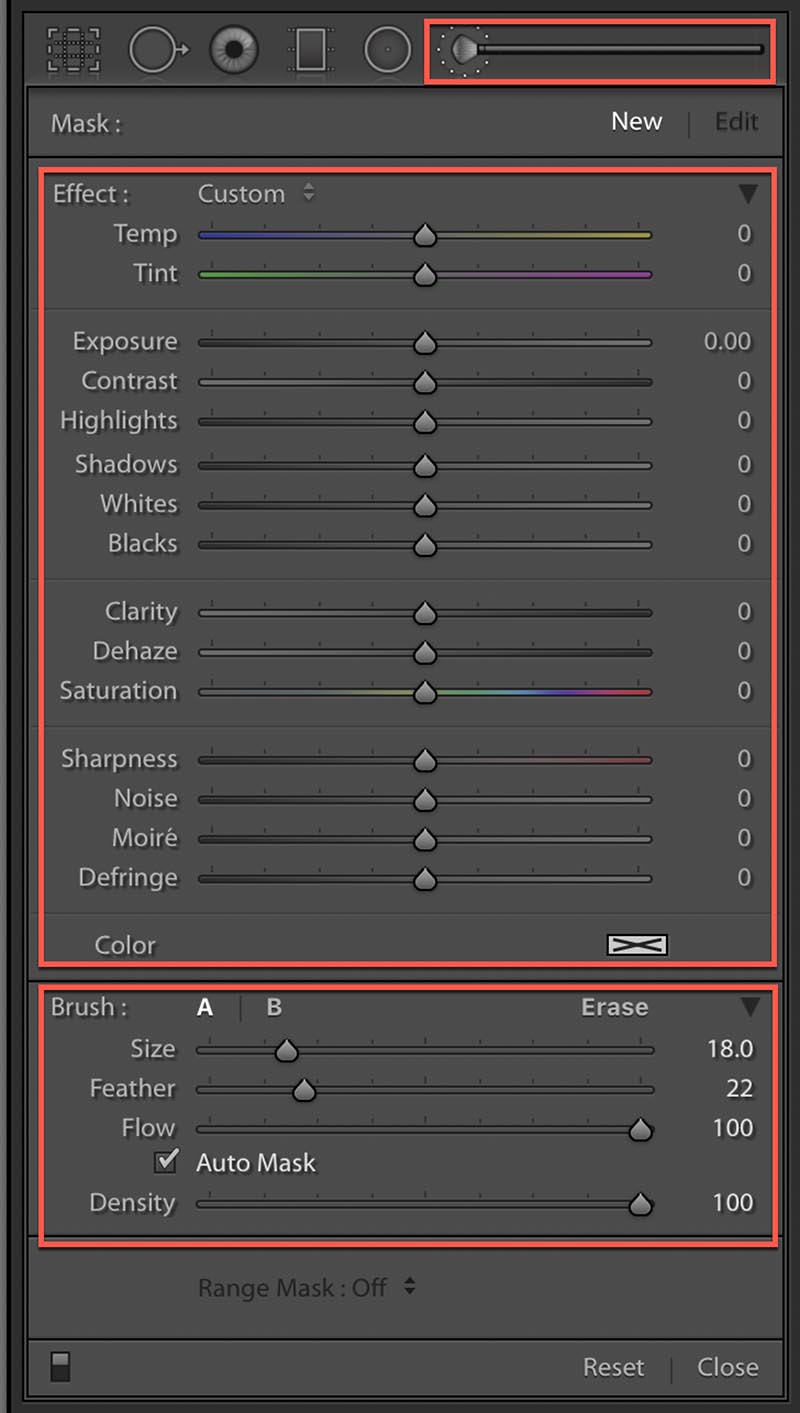
Click the icon, and the panel expands to reveal the adjustment sliders in the top part. Many of the adjustment sliders will be familiar from the earlier lesson.
In the lower section of the panel are the Brush controls.
There are three brushes that can be controlled separately: the A and B brushes, used to select an area, and the Erase brush, which is used to remove part of a selection.
The Size slider controls the size of the brush, but you can also use the “[“ and “]” keys on your keyboard. Use the [ key to reduce the brush size and the ] key to increase it.
The Feather slider controls how hard the edge of the brush is. It’s often easier to blend selections into the image with a soft-edged brush.
The Flow slider controls how many brush strokes are required to reach the level set by the Density slider. If the Flow is 100, each brush stroke will be at the maximum strength (Density). Reduce the Flow to 10, and you need multiple brush strokes to build up to the Density.
The Auto Mask option detects edges based on color and tone and is helpful for selecting clearly defined areas.
Selection Example
We need to select the sky and sea in this scene of an Italian village.
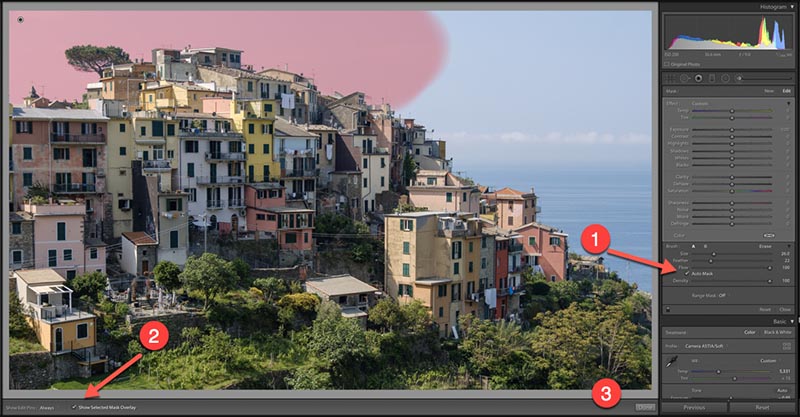
Here, a brush is being used to select the sky with the Auto Mask option selected (1). This selects sky but not the houses due to their different color and tone.
The selected area of the sky is indicated by a red overlay. You can turn this red overlay on and off using the tick box (2).
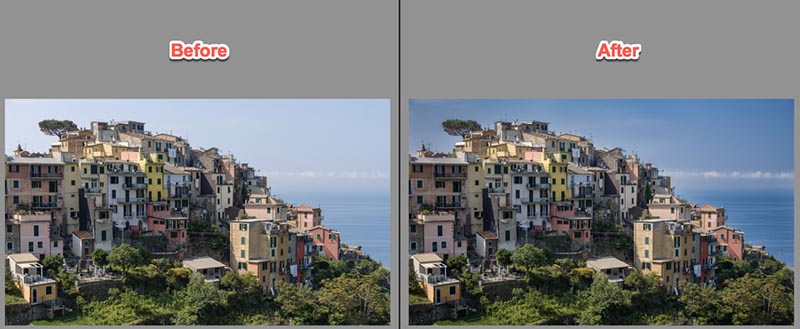
When the selection’s been made, adjustments can be applied to darken the sky.
You can create multiple different selections for the same image. To add a new selection with the brush, click the New link at the top of the Adjustment Brush panel. If you’ve finished making your adjustments, close the tool by clicking the Done button to the bottom right (3).
Erasing Selections
Sometimes when using the Brush tool, you might select an area by mistake. While you could use the Undo menu options discussed in an earlier lesson, you might consider using the Erase Brush.
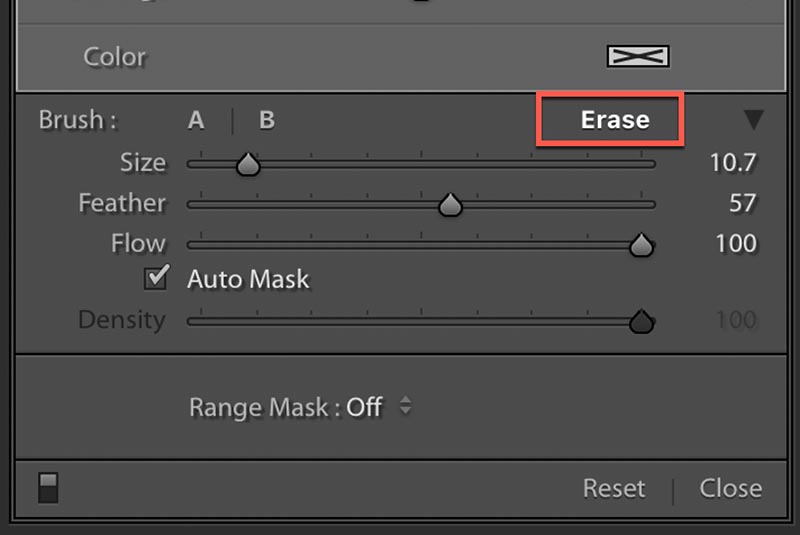
When you select the Erase brush, you still have access to the Size, Feather, Flow, and Auto Mask features, but not Density.
As you paint over an area with the Erase brush, the selection is removed. The number of brush strokes required to remove a selection is controlled by the Flow slider. When set to 100, only one brush stroke is needed. We will return to look at another use for the Erase brush in a later lesson.
Today, we used the Adjustment Brush Tool to make irregular shaped selections. Tomorrow, we will look at a couple more tools to use when making selections.
Recommended book
Share with friends