How to Be Sharp with Smartphones
Episode #8 of the course Master smartphone photography by Tom Ang
Hi!
Do you know that cameras in today’s smartphones can outperform the early professional digital cameras? Still, many people find it hard to obtain sharp images from their smartphone. The problem is not the phone, it’s the technique.
Today, I’ll share tips to keep you sharp.
Steady as She Goes
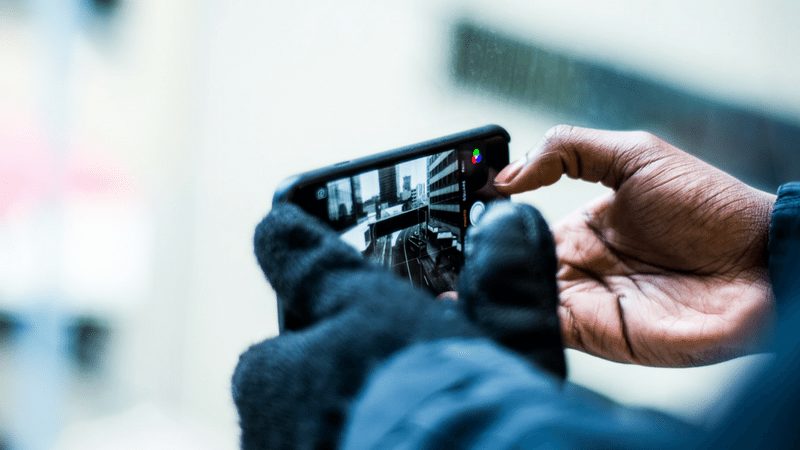
The most common cause of unsharp smartphones is shaking during exposure. That’s not surprising, as the usual way to hold the phone—with one hand—is the most unsteady you could design. To make matters worse, we often make the shot by jabbing at the screen. Result: worse camera shake. So, the solution is:
• For photographing, hold your smartphone with both hands if possible.
• Make the shot by pressing a volume control button, like a real shutter button. You may need to set this up in your phone preferences.
• Some smartphones respond to voice commands like “Capture” or “Shoot.” That’s the steadiest of all. But it’s best kept for quiet situations and when you’re not trying to catch a portrait.
Many modern smartphones offer image stabilization to compensate for camera shake. These are a big help for making sharp images, but it’s best not to rely too much on them.

Brace, Brace!
You improve steadiness of your hands by bracing your elbows. So:
• Press your elbows into your own body: Don’t let them flap about!
• Rest your elbows on a steady support, like a table or a wall, whenever possible
• Try supporting your body by leaning on a wall or door where convenient.
It can’t be said too often: the steadier you are, the sharper your shots will be.
Choose the Focus Point
When you check out a scene, your eyes constantly change focus as you scan a face, look behind them, or follow a car down the road. Smartphone cameras aren’t clever enough to know what’s most important in the scene. You help them by showing them where to focus.
The majority of camera apps allow you to tap on the screen to show where to focus. This is usually tells the camera where to take the exposure reading (which we covered in yesterday’s lesson). In more advanced camera apps, focusing and exposure points can be separate.
• Where and when you can, tell the camera where to focus by tapping at the right position. You may have to drag the focusing point from the center. In the image below, the camera wanted to focus on the sky, so I moved the focus point to the lamp.

Tracking Mode
Some cameras offer a tracking mode (look in camera app preferences). This means that once you have pointed the camera to a point to focus on, the camera continues to focus on that point even if you move the camera around. Or if that point gets up and walks away!
• Check your camera instructions for a follow-focus or continuous-focus mode, and use it when you have a chance.
Get a Grip
I leave this last, as it means having to buy an accessory. A grip that adds a shaped surface to which you can hold on makes a big difference. Some grips carry shutter buttons: That’s even better.
• If you have problems holding your camera steadily or securely, consider getting a grip: there are many different designs, the most compact being those that wrap around the phone.
Now that we’ve started on accessories, tomorrow, let’s look at the best ways to extend the abilities of your smartphone camera.
Happy shooting!
Tom
Recommended book
The Phone Book by Robert Herman
Share with friends