
Symbols
Episode #5 of the course Design workflow with Sketch by InVision
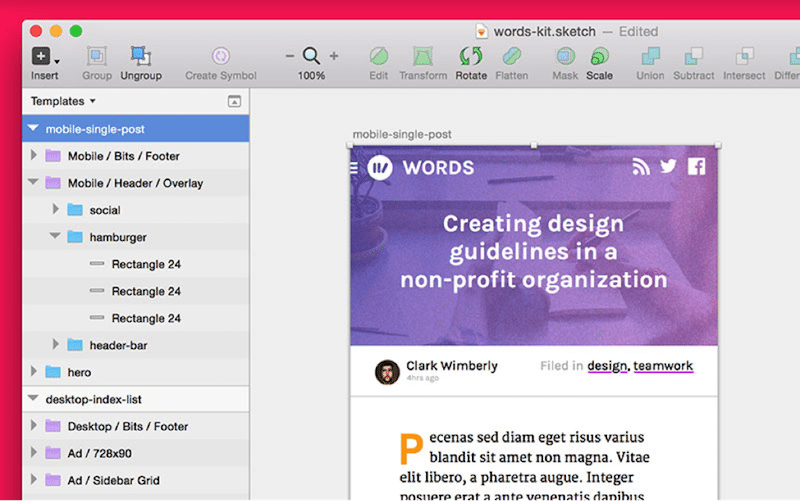
Symbols in Sketch are special elements you can use again and again throughout your document, across pages and artboards. It’s basically a magical layer group, and it’s denoted in the Layers List by a purple folder (instead of the usual blue).
Creating a symbol in Sketch
You can make Symbols from existing layer groups or loose layers. If you select a bunch of loose layers, Sketch groups them for you when creating the symbol.
With the desired item(s) selected, click the Create Symbol icon in the toolbar, or select Layer > Create Symbol in the menu. If you’ve got a group selected, you can also right-click in the Layers List and select Create Symbol.
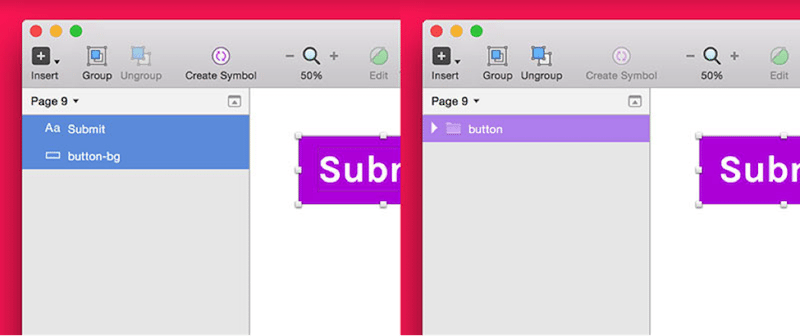
Left: 2 layers selected, elements that make up a button. Right: elements converted into a symbol, named button.
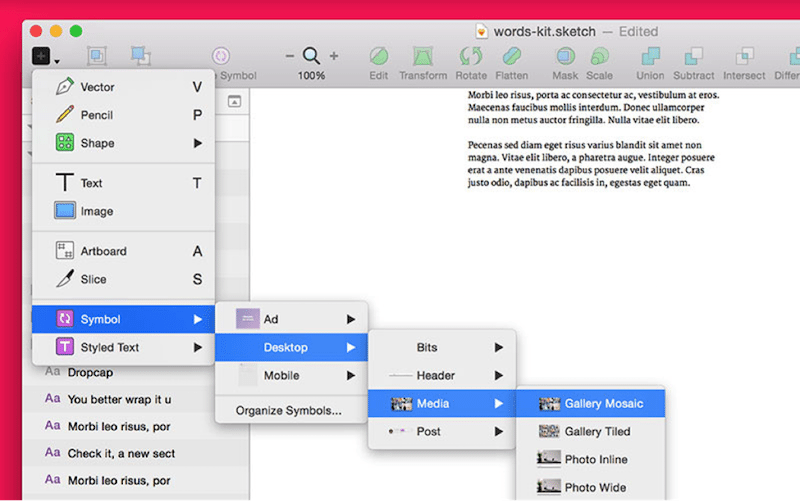
To use the symbol you’ve just created—or any symbol in the document—select Insert > Symbol in the toolbar. Just remember: any changes you make to your new symbol will be immediately reflected in the other instances. With great power comes great responsibility.
Organizing symbols in Sketch
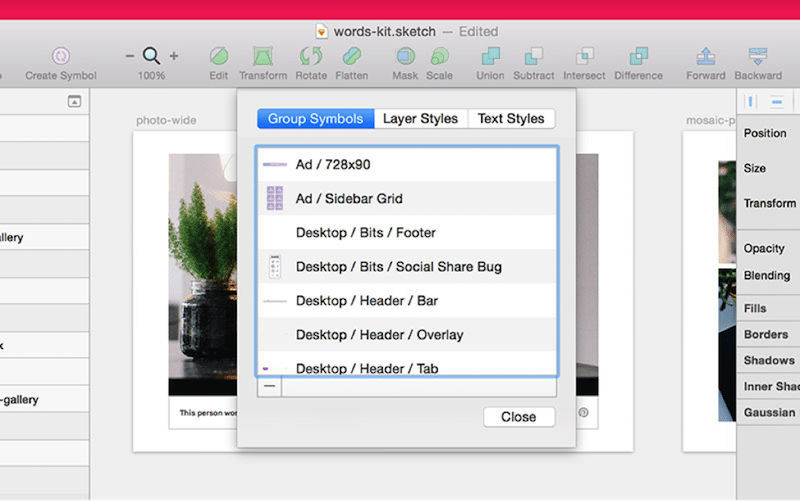
Once you’ve got a bunch of symbols in play, using them efficiently requires a bit of organization. Select Insert > Symbol > Manage Symbols to see a complete list of all symbols contained in the document. You can also rename and delete symbols from this view.
Creating groups of symbols in Sketch
You can also create nested groups of symbols, which is great for organizing even the largest design library. By adding a slash in the symbol name, like buttons/submit, you’ll end up with a symbol named submit contained in a folder named buttons.
There are lots of ways to organize your symbols (just like code!), but I usually use them in the following 3 ways:
• Category: split my symbols up by context, like all the form items in one folder, all the gallery items in another
• Resolution: split my symbols up by breakpoint, with symbols in folders by device screen size
• Versioning: when making a new symbol with wildly different styling, sometimes I’ll put it in a test or experimental folder to keep my production symbols clean
Creating a symbol from Scratch
One thing we planned in this design (from our “Design Planning” section) was solid media handling, which means the ability to nicely display an image, group of images, video, and more, any time an author needs them.
In our Sketch document, these are all going to be symbols. To get started, we’re going to make a mosaic gallery, something that lots of posts and layouts might need, and something we definitely don’t want to build again and again.
I’m picking the mosaic gallery because it involves a neat treat using layer masks, which will definitely save time when working with random images from the internet.
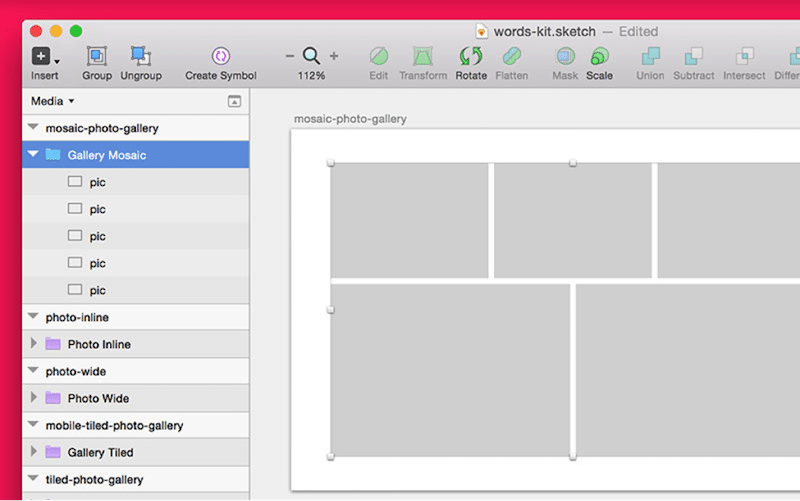
Using the Rectangle Tool (Insert > Shape > Rectangle), draw out the grid where you want your images to sit. Notice we’re planning with rectangles, not actual image sizes. If you wanna get really specific—and I did—you can size things pixel-perfect using The Inspector.

With the grid in place, add each shape to its own group (select the shape and press CMD+G). Inside of each group, right-click on the shape and select Use as mask. Each rectangle is now ready to contain a single image from your gallery.
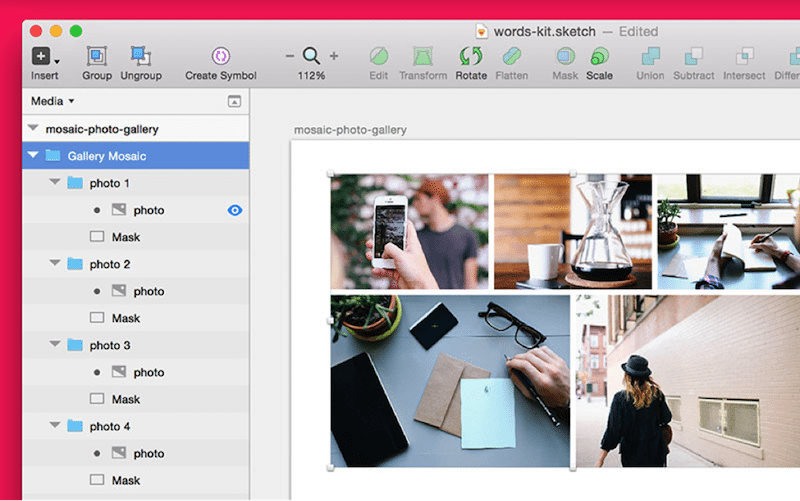
Paste an image into each group, making sure to keep it on top of the mask layer. Masks work by containing any elements sitting above itself in the same group (which is why I had you group everything first). Using shapes as masks cuts out the huge annoyance of having to size each random image specifically, since you already have a grid ready and waiting.
Select everything you’ve just created and convert it to a symbol, either by clicking the Create Symbol icon in the toolbar, or select Layer > Create Symbol from the menu. Your new Symbol is ready to insert all over your document (above, I’ve utilized nested folders to keep everything organized).
Share with friends