Make Friends with Light
Episode #7 of the course Master smartphone photography by Tom Ang
Hello!
You might know “photography” comes from Latin words meaning “light” and “writing.” So, what you’re doing when you press that shutter button or your smartphone screen is writing with light. Surprisingly, many photographers seem to think photography involves fighting with light. They complain that the light is too hard, too soft, or there’s not enough.
Today’s tip is a joyous one: Love the light. Do that and you’ll make a fine photographer.

Loving Light
The key to loving light is to work out what it’s trying to show you. Then you let it enter your camera. Sounds easy? It is! The trouble is that photography books and teachers are making it difficult by insisting on things like correct exposure and avoiding technical problems like flare. My advice: don’t worry.
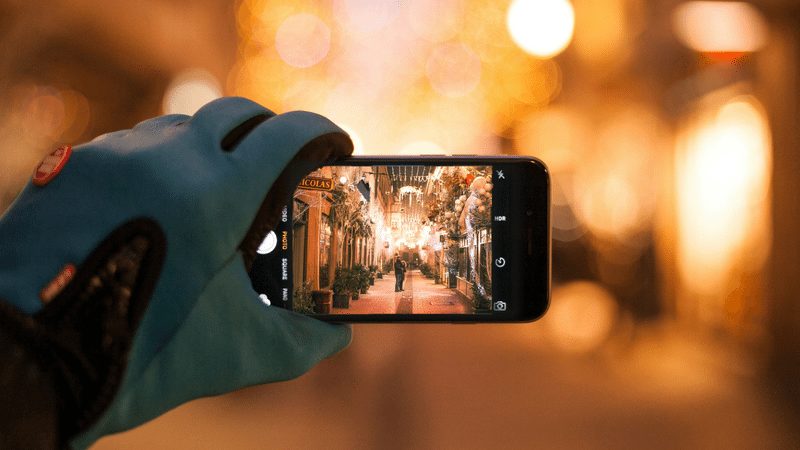
If it’s really bright and you want to point the camera at the sun, shoot away! (As in the photo above.) Don’t listen to people who say, “It won’t come out.” If you want to shoot, shoot. Worry afterward.
These days, modern cameras and even smartphone cameras can handle a very wide range of lighting situations. Much of the time, they get it right. So, go ahead. There’s nothing to lose.
Move the Exposure Target
The most important technique for ensuring the best results is to locate the exposure target at the right place in the scene.
• Tell your camera where to measure exposure. Tap the screen at the part of the scene that needs to be correct. (Your camera may operate in a different way; please check its instructions.)
The typical “right” spots or key tone for correct exposure are:
• lightly tanned skin tones in open light, i.e. not full sun, not in deep shade
• blue sky of a clear or partly cloudy day
• green grass and leaves in open light, i.e. not full sun, not under deep shade.
Measure your camera’s exposure reading from these spots, and 9 times out of 10, you’ll get it perfect.
Just remember to get one thing correctly exposed and let everything else fall in place. For example, your friend is standing in front of a landscape but their face is in the shade. If you don’t want her face to come out too dark, tap the screen on the face to tell your phone to take the exposure from the face and not the bright landscape behind.
Exercise
A good way to learn about exposure is to move the measuring point to different parts of the scene, then shoot. Compare the results and you’ll soon learn what works best.
You can try this right now: Photograph at your desk and move the exposure spot to different spots to see the difference. With each change, the overall image will change in brightness. Soon, you’ll be able to nail the spot confidently.
Exposure Slider
Many camera apps provide a slider for changing or overriding exposure. You drag up and down the scale to make the photo lighter or darker. This works well, provided the phone screen is not in full light. If conditions are too bright, it’s hard to be sure what you’re getting. Then it’s better to use the technique of locating the exposure target to your key tone.
Tomorrow, we work on getting your photos pin sharp!
Happy learning!
Tom
Sources of inspiration
Creation: one of the masterpieces of photography revealing a consummate partnership with light
Feeling for Light: a small gallery of my photos to show you how I work with light
Recommended book
How to Photograph Absolutely Everything: Successful Pictures From Your Digital Camera by Tom Ang
Share with friends