Using Evernote for Digital Storage and Organization
Episode #9 of the course How to create a productivity system by Paul Minors
Evernote is a note-taking and digital storage app and is arguably one of the most powerful tools you can use for increasing your productivity.
So where does Evernote slot into your new productivity system? Up until now, you will have been using your calendar and some sort of task management app to plan your work and schedule your time. Evernote is one of the places where you will do your work and store the reference materials you need to complete a task.

Getting started with Evernote
Follow the steps below to get started with Evernote:
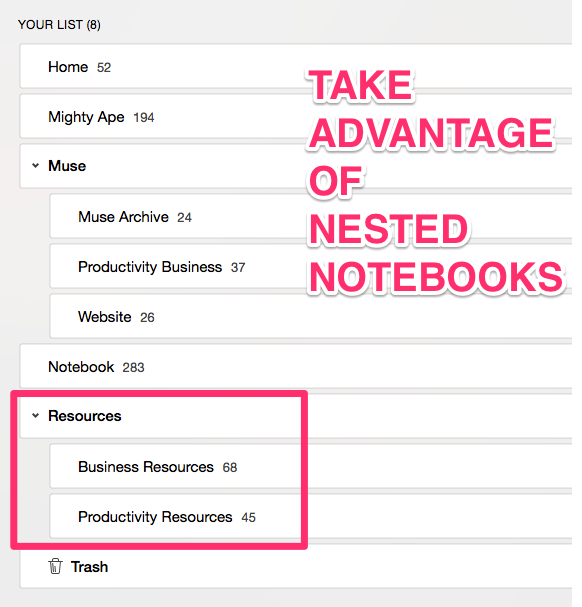
1) Create your notebooks
After downloading Evernote, I recommend you start by creating notebooks for the different areas of your life that you’re likely to use Evernote for. You might have notebooks for “Work” and “Home.” However, you could get really specific and subdivide “Home” into “DIY Projects,” “Gardening Projects,” “Interior Design,” and “Wish List.”
2) Install the web clipper
This is one of the primary tools you can use for collecting resources when surfing the web. The Web Clipper can be installed on Chrome or Safari and is perfect for clipping links, articles, and images from around the web. You can choose your notebook and add tags right inside the Web Clipper without even opening Evernote.
3) Start adding notes and resources to your Evernote account
Evernote is one of those tools where what you get out of it is determined by what you put in. Spend some time creating notes and getting used to the interface. Here are some ways you can use Evernote to stay organized and go paperless:
• Collect articles or blog posts you like and might want to refer back to. Tag all these blog posts with “Article.”
• Photograph receipts of big-ticket purchases. Tag these notes with “Receipts.”
• Take notes during webinars and meetings. You can then use a “Meeting” tag to group your notes together.
• Photograph and store digital copies of your passport and ID.
• Photograph and store digital versions of your insurance policies.
• Keep a record of your travel itinerary and important travel documents. Tag with “Travel.”

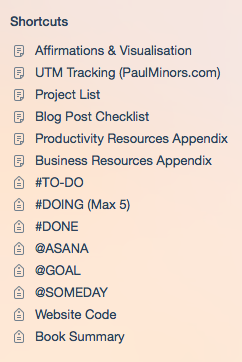
4) Add your top tags and notes to shortcuts
Once you start creating and organizing your notes, create shortcuts for your top tags, notes, and notebooks to make them more accessible. Shortcuts are located in the top left of the Evernote app, where you can access your favorite notes and tags.
Mistakes to avoid
When setting up your notebooks and tags, be mindful of the number of each that you set up. You want to make it nice and simple when it comes to deciding where a note should live. If you have too many notebooks, it can make things confusing.
In the beginning, Evernote can be a bit of a blank canvas. Use it as much as you can in the first few weeks to work out how it’s going to fit in with your workflow.
Next lesson
In our final lesson tomorrow, we’re going to look at one of the most important aspects of your new productivity system, the “weekly review.” This is going to be a crucial step, so don’t miss it!
Recommended resources
Evernote Essentials by Brett Kelly
Recommended book
“Master Evernote: The Unofficial Guide to Organizing Your Life with Evernote” by S.J. Scott
Share with friends